The Pi Network has become one of the most talked-about crypto projects, mainly because it lets people mine Pi coins directly on their smartphones. But once users collect a good amount of Pi, the biggest question comes up—
How to transfer Pi coins to an exchange and convert them into real value?
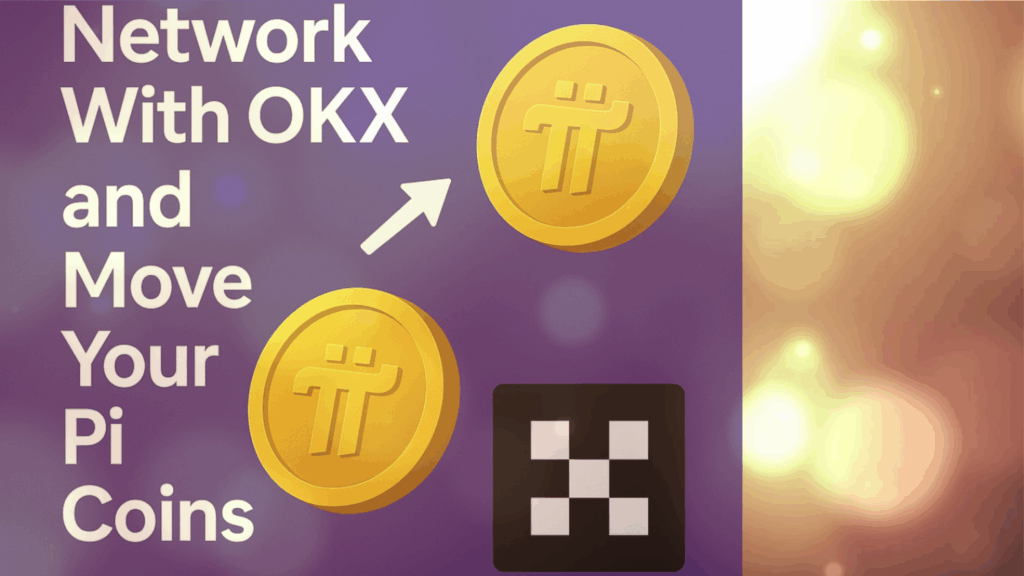
Now that OKX has officially added support for Pi Network, users finally have a trusted way to connect their Pi wallet and start redeeming or trading Pi coins.
This guide will help you understand every step clearly, from connecting Pi Network to OKX, generating a deposit address, and sending your Pi coins safely.
Why Transfer Pi Network to OKX?
OKX is among the world’s top exchanges, and its Pi support has created a huge opportunity for Pi users. Once linked, you can send Pi coins, trade, withdraw, or store them securely.
Key Advantages:
- Pi trading expected on OKX after 20 February 2025.
- Swap Pi for USDT, BTC, or other cryptocurrencies.
- Withdraw money to your bank using OKX’s fiat options.
- Store Pi coins safely in OKX Wallet.
- Access staking and earning features inside OKX.
Step-by-Step: Connect Pi Network to OKX & Transfer Pi Coins
Follow each step carefully for a smooth and secure experience.
Step 1: Create & Verify OKX Account
Before moving Pi coins, an active OKX account is required.
- Open OKX website or download the app.
- Register using your email or mobile number.
- Complete KYC with valid ID proof.
- Enable 2FA to add extra security.
Step 2: Generate Your Pi Deposit Address on OKX
This is the address you will use to receive Pi coins.
- Open OKX and go to Assets → Deposit.
- Search for Pi Network (Mainnet).
- A deposit address starting with M will appear.
- Copy this address for the next step.
Step 3: Send Pi Coins From Pi Network Wallet to OKX
Now you are ready to transfer your Pi coins.
- Open Pi Browser → Pi Wallet App.
- Log in using your Pi credentials.
- Tap Send.
- Paste your OKX Pi deposit address.
- Type the amount of Pi you want to transfer.
- Leave the Memo field blank (not required).
- Confirm the transaction.
Transfer time may vary from a few minutes to a few hours.
Step 4: Check if Your Pi Coins Reached OKX
- Open OKX.
- Go to Assets → Deposit History.
- Look for the Pi transaction.
- Once confirmed, your Pi balance will show up instantly.
Step 5: Trade or Withdraw Your Pi Balance on OKX
Want to Trade Pi?
- Open Trade.
- Search for Pi/USDT.
- Place a buy or sell order.
- Swap to USDT or any other coin.
Want to Withdraw?
You have two choices:
- Withdraw Pi to another Pi wallet.
- OR convert Pi → USDT → Bank withdrawal.
FAQs (Questions Only — No Answers)
- How do I link my Pi Network wallet to OKX?
- How do I redeem Pi coins inside OKX?
- What is the official OKX launch date for Pi Network?
- How can I withdraw Pi coins from OKX directly to my bank?
- Is KYC required before sending Pi coins to OKX?
- What is the minimum Pi deposit allowed on OKX?
- How long does Pi Network to OKX transfer take?
- Can I withdraw Pi from OKX without selling it?
- What should I do if my Pi deposit doesn’t appear in OKX?
- Is it possible to transfer Pi directly from the mining app to OKX?
If Your Pi Coins Don’t Show Up in OKX
- Check Pi Wallet transaction history
- Check Deposit History in OKX
- If not received within 24 hours, contact OKX support
Final Thoughts
Connecting your Pi Network wallet to OKX is the most important step for anyone who wants to use their mined Pi coins in real markets. With OKX officially supporting Pi, users can finally redeem, trade, convert to USDT, and even withdraw funds to their bank.
By learning this process now, you prepare yourself for the moment Pi goes fully live on the open market.